Resize Linux Partition with LVM (via QEMU)
Grow three layers in order, the virtual disk, the partition under it, and the vgubuntu volume, without reinstalling the Ubuntu 20.04 guest
Overview
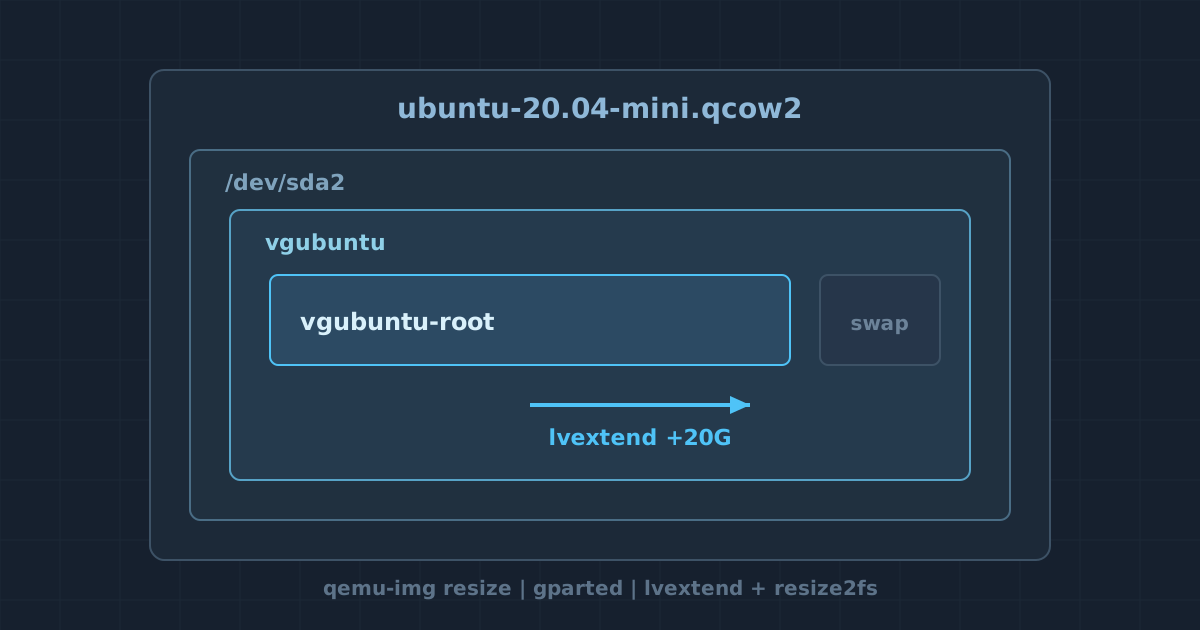
A QEMU guest ran out of disk space. The guest existed because I was trying out UTM ↗ as a lighter alternative to Parallels Desktop and using it to learn QEMU’s tooling suite properly; the full disk turned into a good excuse to work through that stack end to end. Instead of reinstalling, grow the disk through all three layers it is built from: the qcow2 virtual disk, the partition on it, and the LVM logical volume holding the filesystem. The steps below were done on an Ubuntu 20.04 mini install using the default LVM layout, following linuxtechi’s walkthrough ↗ as a reference.
The order matters and each layer gates the next:
- Resize the virtual disk (QEMU only, optional)
- Resize the partition to claim the new space (GParted)
- Extend the logical volume and the filesystem (LVM)
Prerequisites
- An Ubuntu guest installed on LVM. My guest names its volume group
vgubuntuwith avgubuntu-rootlogical volume; other installs use different names (ubuntu-vg/ubuntu-lvon server installs), so check yours withvgdisplayand substitute throughout. - A GParted ↗ live image to move the partition boundaries offline.
- Root access inside the guest for the LVM steps.
Step 1: Resize the virtual disk (QEMU)
Skip this step if the disk is physical or already big enough; it only applies to a qcow2 backed by QEMU. From the host, while the guest is shut down:
# Read the drive filesystem
qemu-img info ubuntu-20.04-mini.qcow2

# Add 15G to the virtual size
# NOTE this is reflected in "virtual size"
qemu-img resize ubuntu-20.04-mini.qcow2 +15GStep 2: Resize the partition (GParted)
Boot the guest from the GParted live image so the root filesystem is not mounted while it moves. Booting an entire live OS to drag one partition edge has always felt heavy-handed to me, but a mounted root filesystem cannot move under itself, and this is the only step in the chain with real destructive potential, so it earns the caution.
- Open GParted and select the top-level physical device containing both root (
/) and boot (/boot), e.g./dev/sda. - Right-click the LVM partition, then resize, and drag over the unallocated space left by Step 1 so it joins the physical device.
Apply the operation. The unallocated space is now part of the partition backing the LVM physical volume, but the volume group does not use it yet.
Step 3: Extend the logical volume and filesystem
Back inside the guest, confirm the current usage and the volume group the installer created:
# Read the filesystem current size
# Alternatively, lsblk
df -h /home/

# Read the created Volume Group
# The name (here: vgubuntu) was chosen at installation
# NOTE this requires root
vgdisplay vgubuntuvgdisplay reports the free extent count; that is the budget lvextend can spend. This is the step where the QEMU side finally pays off: the 15G added back in Step 1 has been sitting there as free extents since the partition claimed it. Grow the logical volume by the intended amount, then write the new size into the ext4 filesystem:
# Expand 20G for the specific Volume e.g. vgubuntu-root
lvextend -L +20G /dev/mapper/vgubuntu-root

# Apply and write new partitions to LVM
resize2fs /dev/mapper/vgubuntu-rootresize2fs grows the mounted filesystem online, so no reboot or unmount is needed for this last step. Verify with df -h /home/ again; the size column should reflect the grown volume.
Closing
Three tools for one growing disk, and each layer only knows its own job: qemu-img grows the image, GParted moves the partition edge, LVM spends the new space. The guest came back with its 15G and no reinstall, and now I know exactly where one layer hands off to the next. That part is hard to learn from a Parallels-style slider that just makes the bar bigger.
Reference
- Extend LVM partitions ↗ on linuxtechi, the walkthrough these steps follow.