Elevate sudo privileges using biometrics
Utilises macOS Touch ID instead of typing your password every single time
Overview#
This article describes how to enable Touch ID on your Mac to authenticate you for sudo access instead of a password because chances are you’re not the “owner” of your computer.
The concept sudo originated on *nix OSes and is quite similar to an admin account on Windows, loosely speaking. In fact, it stands for SUper user DO as in executing as a root user and normally elevated with a password.
Through this tutorial, you can takes a step further and utilises macOS Touch ID to elevate necessary privileges without typing your password every single time.
Enable elevating privileges using Touch ID#
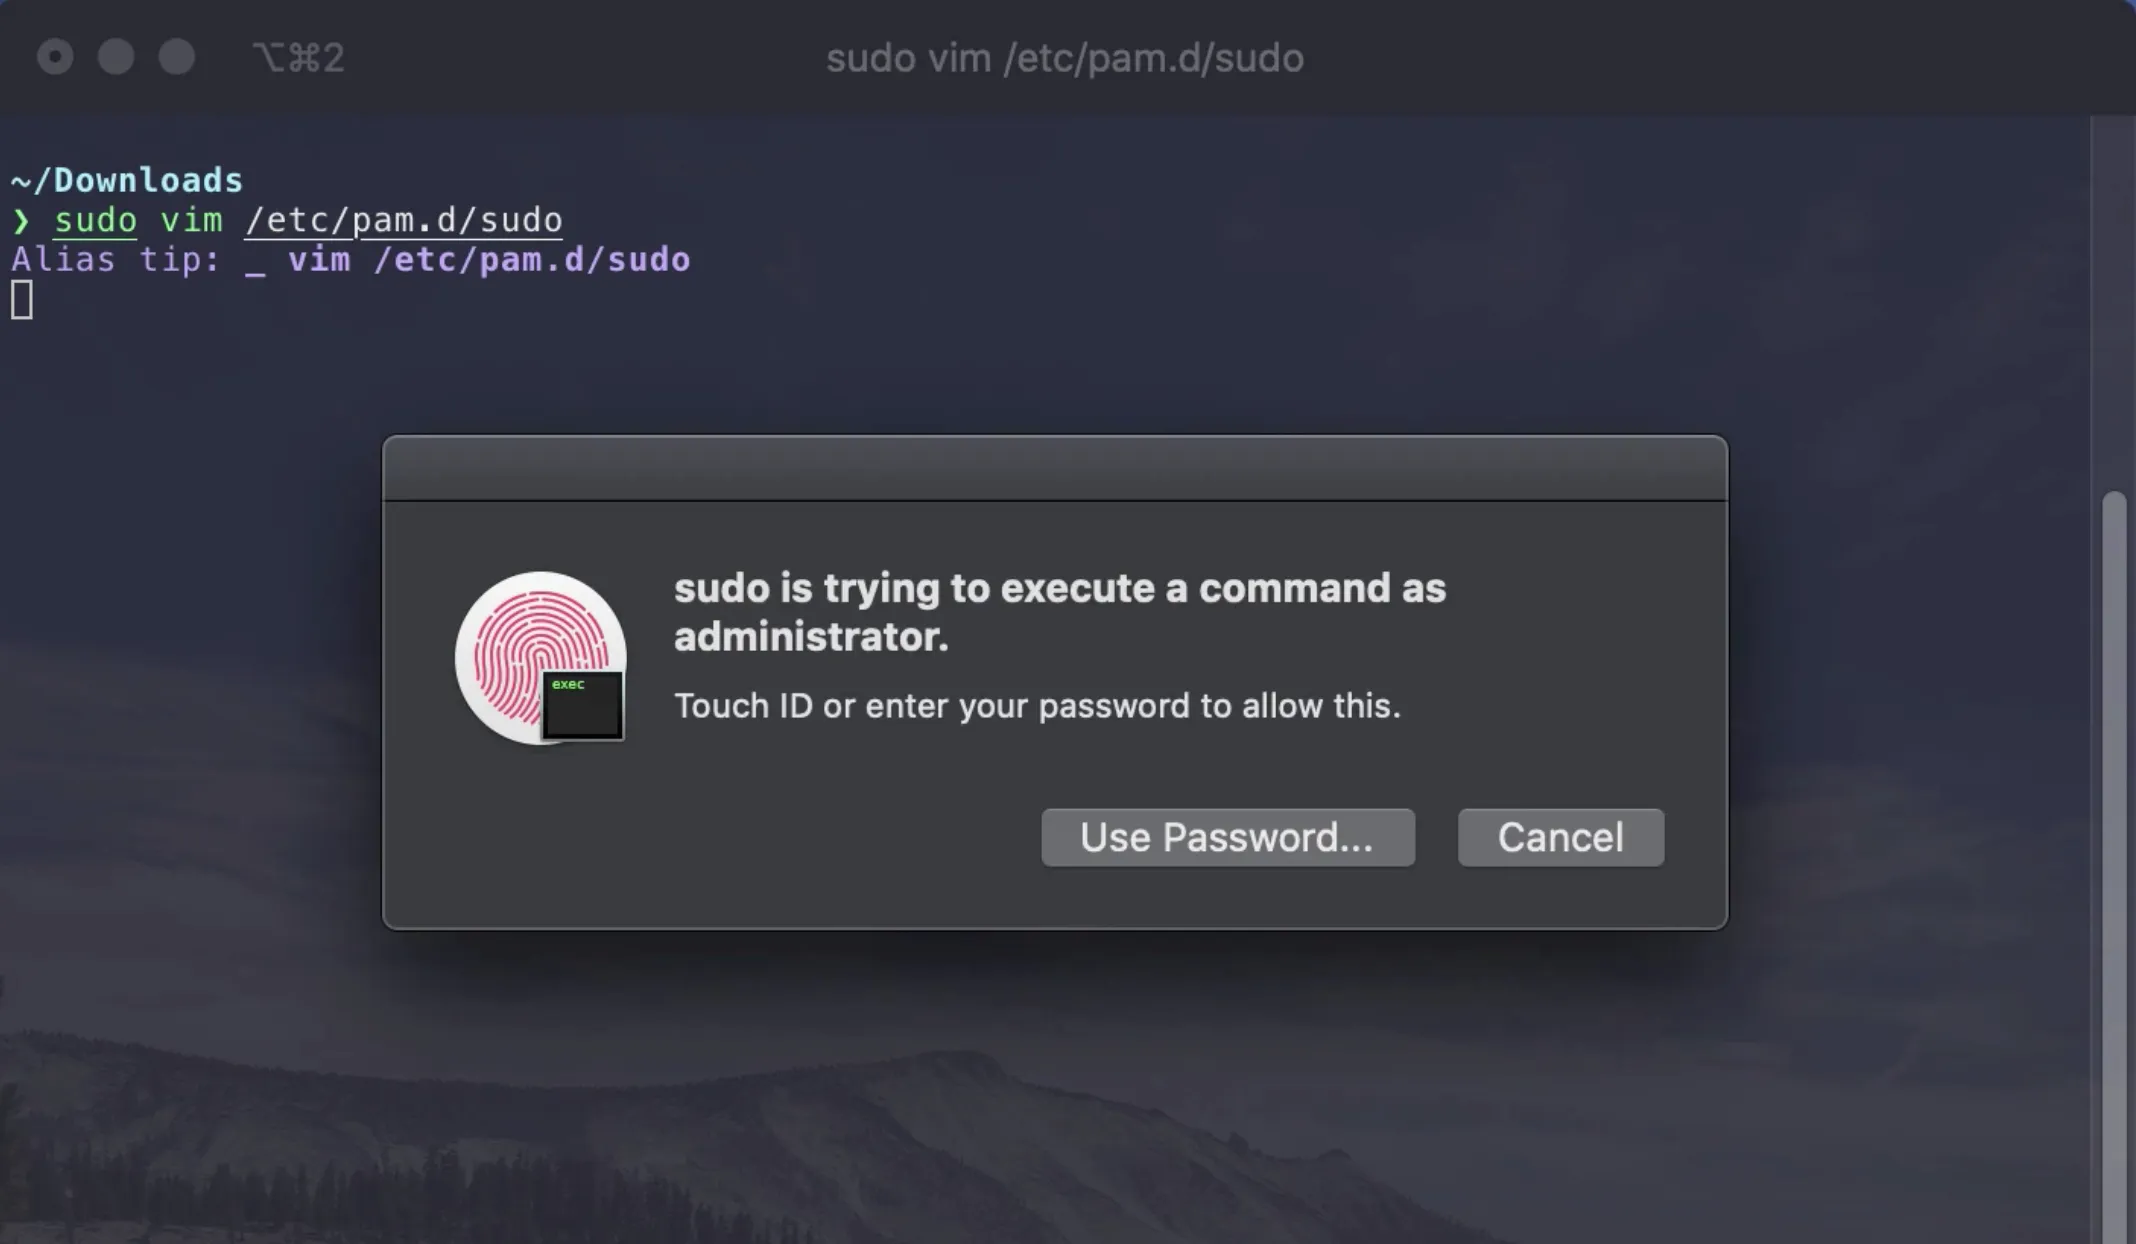
$ sudo vim /etc/pam.d/sudo
auth       sufficient     pam_tid.so
auth       sufficient     pam_smartcard.so
auth       required       pam_opendirectory.so
...- Open your favorite terminal emulator, usually Terminal.app or iTerm.app and open
/etc/pam.d/sudowith any command line editors such as vim or nano - Append the line
auth sufficient pam_tid.sospace-separated to the sudo file - Hit Save (:wq! for vim or ⌃-x then y for nano) to apply all changes
 Enable elevating privileges using TouchID via Vim editor on terminal. Adding pam_tid.so to sudo configuration to elevate privileges using Touch ID.
Alternatively, navigate through Finder with ⌘-⇧-G keystrokes then type in the address /etc/pam.d/sudo.
- Right-click and select Get Info
- In Sharing & Permissions section, unlock using your password and grant Read & Write access so you can open it
- Open the file in any editor and append
auth sufficient pam_tid.so - Save and revert Step 2 to ensure the file is Read-only

Results#
In a new terminal tab/window, whenever executing sudo, it will automatically prompt for Touch ID if you have successfully configured following the previous steps.
Enabled Touch ID allows quick elevation
(Optional) Tmux Setup#
The previous result won’t be the same within a Tmux session and require further installation of fabianishere / pam_reattach.
- Install the
pam_reattachmodule with brew - Similar to previous, append
auth optional pam_reattach.soto the sudo authentication file
brew install fabianishere/personal/pam_reattach
sudo vim /etc/pam.d/sudo
auth       optional       pam_reattach.so
auth       sufficient     pam_tid.so
auth       sufficient     pam_smartcard.so
...Troubleshooting (Extra)#
- Issues with iTerm2 not working
Make sure that you have enabled successfully, also try built-in Terminal.app to verify it, otherwise open iTerm2 Preferences (⌘-,) → Advanced → Allow sessions to survive logging out and back in and set it to No.
Acknowledgement#
This tutorial is based on the answers from this StackExchange thread ↗.